
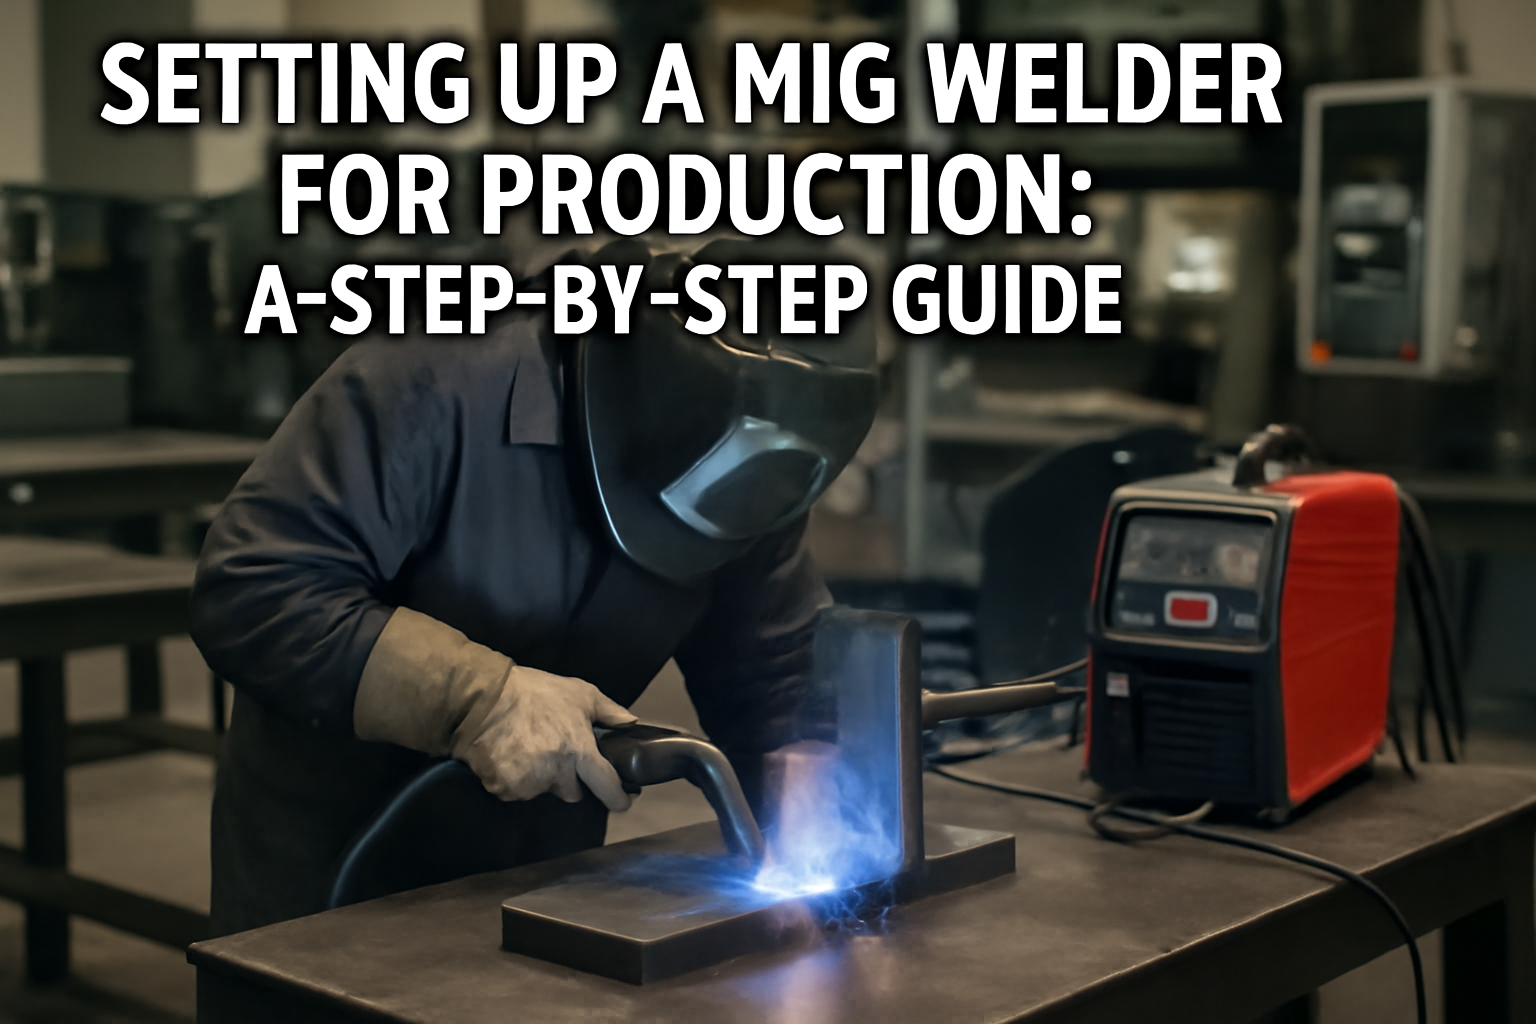
Setting Up a MIG Welder for Production: A Step-by-Step Guide
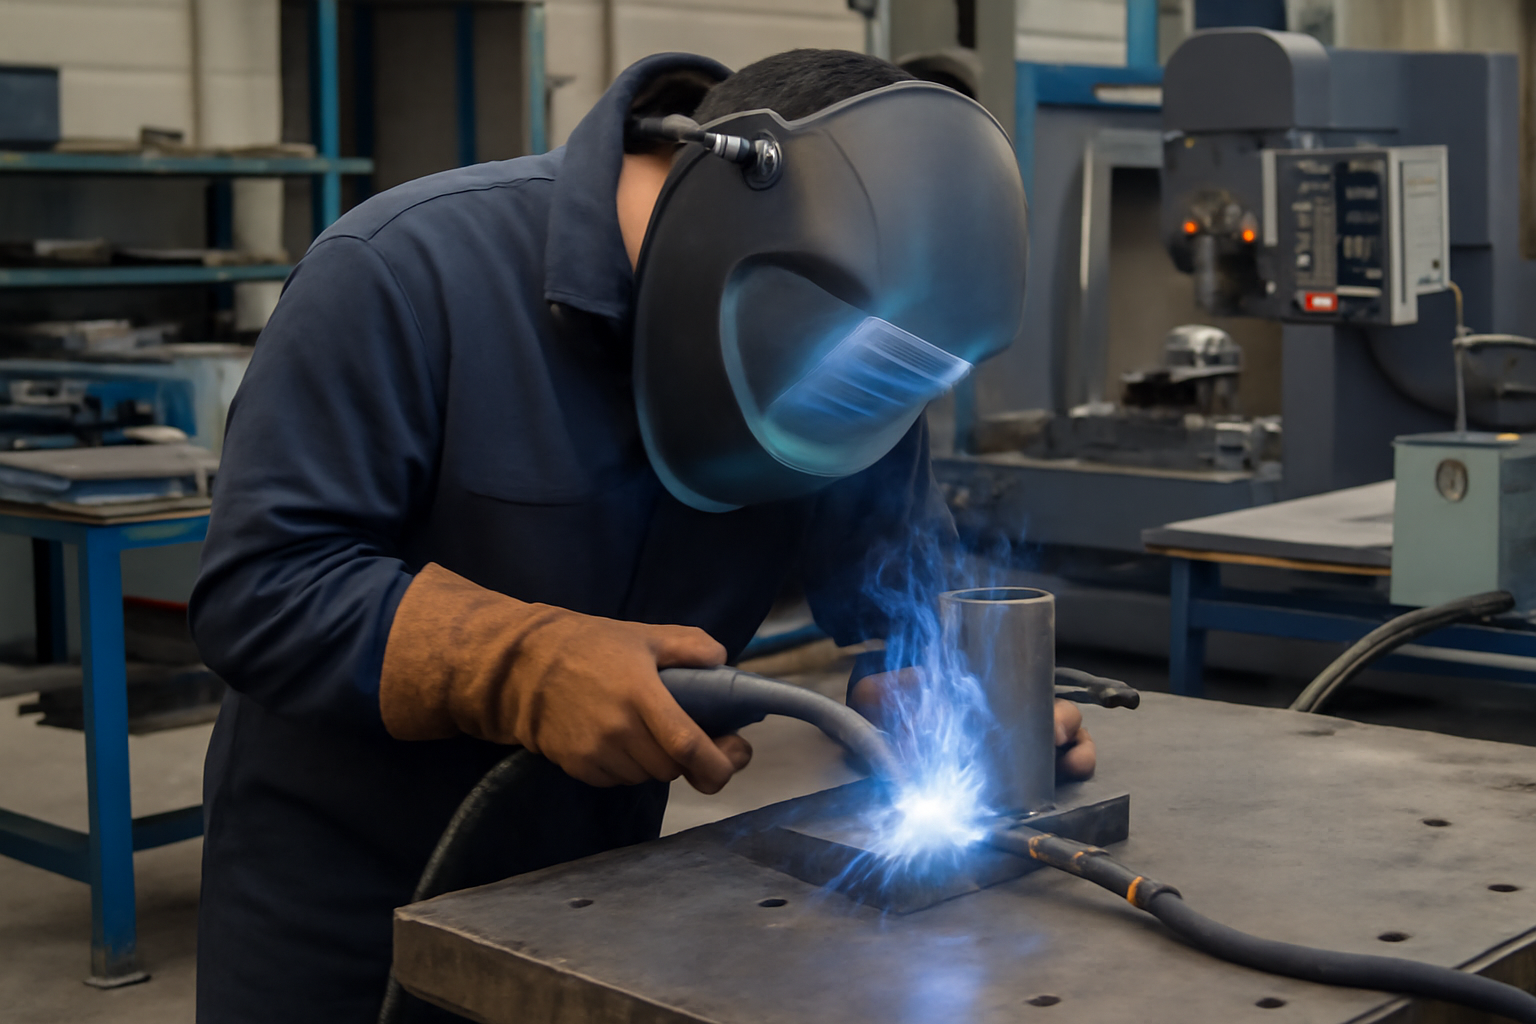
Setting up a MIG welder for production involves several essential steps to ensure optimal performance and efficiency. Whether you're working in a machine shop or a fabrication environment, understanding how to properly configure your welding machine can significantly impact your output and quality.
This guide provides a clear, structured approach to setting up your MIG welder, including common mistakes to avoid, necessary tools, and a handy checklist. By following these steps, you'll be well on your way to achieving reliable welds and maximizing your productivity.
Table of Contents
Step 1: Gather Your Tools and Equipment
Before you begin setting up your MIG welder, make sure you have all the necessary tools and equipment. Having everything on hand will streamline the setup process and ensure you can start welding without unnecessary delays. Here's what you need: Comprehensive Guide to Industrial MIG Welders: Key Comparisons and Insights.
- MIG welder
- Welding wire (appropriate gauge and type)
- Gas cylinder with appropriate shielding gas
- Welding torch and accessories
- Wire feeder
- Protective gear (helmet, gloves, jacket)
- Welding machine specifications
Detailed Tool and Equipment List
Each item on the list is crucial for a successful MIG welding setup. Below are additional details about each component:
- MIG welder: Ensure your welder is suitable for the materials you plan to work with. Check the voltage and amperage settings to confirm they meet your production needs.
- Welding wire: Choose the right type of wire (solid or flux-cored) based on your application. Common gauges for mild steel are .030" or .035". Always verify compatibility with your welder's settings.
- Gas cylinder: Depending on your welding material, you might need argon, CO2, or a mix. Verify the cylinder is full and check for leaks before connecting.
- Welding torch: Ensure you have the correct torch size and nozzle for your wire diameter. Keep spare tips and nozzles on hand for quick replacements.
- Wire feeder: Confirm that your wire feeder is functioning properly. Check for any obstructions in the feed path and ensure the tension is set correctly to prevent wire slipping.
- Protective gear: Invest in high-quality protective gear. A welding helmet with an auto-darkening feature can significantly improve visibility and safety. Ensure your gloves and jacket are flame-resistant and fit well.
- Welding machine specifications: Familiarize yourself with the specifications of your machine, including duty cycle and recommended settings for different materials and thicknesses.
Checklist for Preparation
Before starting your setup, use the following checklist to ensure you have everything you need:
- Confirm the MIG welder is in good working condition.
- Gather the correct type and gauge of welding wire.
- Ensure the gas cylinder is filled and equipped with a regulator.
- Check that the welding torch and accessories are clean and ready for use.
- Inspect the wire feeder for any issues.
- Put on all necessary protective gear before starting the setup.
- Review the welding machine's manual for any specific setup requirements.
Common Mistakes to Avoid
While gathering your tools and equipment, be aware of these common mistakes:
- Using the wrong wire type: Always match the wire type to the material being welded to avoid poor weld quality.
- Neglecting safety gear: Skipping protective gear can lead to serious injuries. Always prioritize safety.
- Overlooking equipment compatibility: Ensure all components, such as the gas type and welding wire, are compatible with your MIG welder.
- Ignoring maintenance checks: Failing to check the welder and accessories can lead to equipment malfunction during production.
By carefully preparing and gathering the right tools and equipment, you set the foundation for a successful MIG welding operation. This preparation will not only enhance your efficiency but also contribute to the quality of your welds.
Step 2: Set Up the Welding Area
Creating a safe and efficient workspace is crucial for production welding. Follow these guidelines:
- Ensure proper ventilation to avoid harmful fumes.
- Keep the area clean and organized to prevent accidents.
- Set up your workbench at a comfortable height to minimize strain.
- Position the MIG welder close to your work area to reduce cable lengths.
Step 3: Configure the MIG Welder Settings
Configuring your welder correctly is vital for producing quality welds. Here are the key parameters to adjust:
Wire Feed Speed
Adjust the wire feed speed according to the material thickness and type. A good starting point is to consult the welder's manual or refer to the welding machine specifications.
Voltage Settings
Set the voltage according to the welding wire and material you are working with. Higher voltage is typically used for thicker materials.
Gas Flow Rate
Check your gas flow rate, which usually ranges from 15-25 cubic feet per hour (CFH). Ensure that the shielding gas is suitable for your application.
Step 4: Prepare the Welding Wire and Torch
Proper preparation of the welding wire and torch is essential for smooth operation:
- Install the appropriate welding wire into the welder's spool.
- Ensure the wire is free of kinks and tangles.
- Attach the welding torch securely, ensuring that all connections are tight.
- Check the condition of welding torch accessories to ensure they are in good working order.
Step 5: Test the Setup
Before starting production, conduct a test weld on scrap material. This will help you confirm that:
- The settings are correctly configured.
- Arc stability is maintained; refer to mig welder troubleshooting arc stability if issues arise.
- The weld quality meets your project specifications.
Testing your MIG welder setup is crucial to ensure optimal performance and quality in production. Here's a detailed approach to effectively conduct your test weld:
1. Select Appropriate Scrap Material
Choose scrap material that closely matches the type and thickness of the material you will be working with in production. This ensures that the test weld provides relevant results. For example, if you plan to weld 1/8-inch steel, use a similar thickness of steel for your test.
2. Prepare the Scrap Material
Clean the scrap material thoroughly to remove any contaminants such as rust, paint, or grease. Use a wire brush or grinder for metal surfaces. Proper preparation is essential as contaminants can affect the quality of the weld.
3. Set Up Your MIG Welder
Refer to the manufacturer's manual for the recommended settings based on the material type and thickness. Adjust the following parameters:
- Wire Feed Speed: Start with the manufacturer's recommended speed and adjust based on your test results.
- Voltage: Set the voltage according to the thickness of the material. Higher voltage is generally used for thicker materials.
- Gas Flow Rate: Ensure the gas flow is set correctly to prevent contamination. A common starting point is around 15-20 CFH (cubic feet per hour).
4. Perform the Test Weld
With your welder set up, perform a weld on the prepared scrap material. Follow these steps:
- Start the arc and maintain a steady hand to ensure a consistent bead.
- Observe the weld pool and adjust the travel speed if necessary to achieve the desired bead profile.
5. Inspect the Weld Quality
After completing the test weld, inspect the weld bead for the following characteristics:
- Bead Appearance: The bead should be uniform in width and height, with a consistent texture.
- Penetration: Check if the weld has penetrated adequately into the base material. Insufficient penetration can lead to weak welds.
- Spatter: Minimal spatter indicates good settings. Excessive spatter may require adjustments to voltage or wire feed speed.
6. Conduct a Bend Test (if applicable)
For critical welds, consider performing a bend test. This involves cutting a section of the test weld and bending it to check for cracks or failures. A successful bend test indicates good ductility and strength of the weld.
7. Document Your Findings
Keep a record of your test weld settings and results. Note any adjustments made during the test and the final settings that produced the best results. This documentation will serve as a reference for future production runs.
Common Mistakes to Avoid
- Skipping the Test: Never skip the test weld, as it can lead to costly mistakes in production.
- Incorrect Material Selection: Using different materials for testing can yield misleading results.
- Neglecting to Adjust Settings: If the initial test weld is unsatisfactory, don't hesitate to adjust the settings and retest until optimal results are achieved.
By following these steps, you can ensure that your MIG welder is properly set up for production, leading to high-quality welds and efficient operation. Proper testing minimizes errors and maximizes productivity in your welding projects.
Step 6: Start Production
After confirming that everything is set up correctly, you can begin production welding. This phase is critical, as it directly impacts the quality and efficiency of your output. Keep an eye on the following:
- Adjust settings as needed based on performance.
- Monitor the quality of the welds and make adjustments to maintain consistency.
- Ensure proper handling of your welding equipment to extend its life.
Adjusting Settings
Once you start welding, it's important to continuously assess the performance of your MIG welder. Here are some key adjustments you might need to consider:
- Wire Feed Speed: If you notice undercutting or excessive spatter, consider adjusting the wire feed speed. A slower speed may reduce spatter, while a faster speed can help fill gaps in thicker materials.
- Voltage Settings: If the welds appear too shallow or too deep, you may need to adjust the voltage. Higher voltage typically results in deeper penetration, while lower voltage is better for thinner materials.
- Gas Flow Rate: Ensure that your shielding gas flow rate is optimal. If you see excessive porosity in your welds, it may indicate insufficient gas coverage, requiring an increase in the flow rate.
Monitoring Weld Quality
Maintaining consistent weld quality is crucial for production efficiency. Here are steps to ensure high-quality welds:
- Visual Inspection: Regularly inspect welds for uniformity, penetration, and appearance. Look for signs of undercut, porosity, or lack of fusion.
- Test Samples: Periodically perform destructive or non-destructive testing on sample welds to assess their strength and integrity. This can include bend tests or x-ray inspections, depending on the application.
- Consistency Checks: Keep a log of your settings and the corresponding weld quality. This will help you identify trends and make informed adjustments over time.
Equipment Handling and Maintenance
Proper handling of your welding equipment is essential to ensure longevity and reliability. Follow these best practices:
- Regular Cleaning: After each use, clean the nozzle and contact tip to prevent spatter buildup, which can affect performance. Use a wire brush or dedicated cleaning tools.
- Inspect Cables and Hoses: Check for any signs of wear or damage on cables and hoses. Replace any that show fraying or leaks to prevent operational issues.
- Routine Maintenance: Follow the manufacturer's maintenance schedule for your MIG welder. This includes replacing consumables like tips and liners at regular intervals.
- Safe Storage: When not in use, store your welder in a dry, clean environment. Protect it from moisture and physical damage to extend its lifespan.
Common Mistakes to Avoid
Being aware of common pitfalls can help you maintain a smooth production process:
- Ignoring Manufacturer Guidelines: Always refer to the manufacturer's specifications for settings and maintenance. Deviating from these can lead to subpar performance.
- Neglecting Safety Gear: Always wear appropriate safety gear, including helmets, gloves, and protective clothing. Skipping this can lead to injuries.
- Overlooking Setup Checks: Before starting production, double-check all connections and settings. A simple oversight can lead to significant issues during welding.
By diligently monitoring your settings, ensuring weld quality, and properly maintaining your equipment, you can optimize your production welding process for efficiency and quality. This attention to detail will not only improve the output but also enhance the overall durability of your equipment.
Common Mistakes to Avoid
When setting up your MIG welder, be mindful of these common mistakes:
- Neglecting proper ventilation, leading to unsafe working conditions.
- Using incorrect wire feed speed or voltage settings for the material.
- Failing to regularly check the shielding gas levels.
1. Neglecting Proper Ventilation
Proper ventilation is crucial when using a MIG welder, as welding produces harmful fumes and gases. Here are steps to ensure adequate ventilation:
- Identify the workspace: Choose an area with good airflow, such as a well-ventilated garage or workshop. If indoors, consider using exhaust fans to help disperse fumes.
- Use fume extraction systems: Invest in a fume extractor or a downdraft table that captures and filters harmful particles directly from the welding area.
- Open windows and doors: If possible, keep windows and doors open to promote cross-ventilation. This can significantly reduce fume concentration.
- Wear appropriate PPE: Always wear a respirator designed for welding to protect against inhaling harmful substances, even in a well-ventilated area.
2. Using Incorrect Wire Feed Speed or Voltage Settings
Setting the wrong wire feed speed or voltage can lead to poor weld quality. Here's how to avoid this mistake:
- Consult the material specifications: Different materials require different settings. Refer to the manufacturer's guidelines for the specific wire type and thickness.
- Adjust settings based on material thickness: For thin materials, use lower voltage and wire feed speeds to prevent burn-through. For thicker materials, increase both settings accordingly.
- Perform test welds: Always conduct test welds on scrap pieces of the same material. Adjust settings based on the appearance and strength of the weld.
- Keep a log: Document the settings used for different materials and thicknesses for future reference, making it easier to replicate successful welds.
3. Failing to Regularly Check Shielding Gas Levels
Insufficient shielding gas can lead to contamination and weaken welds. To ensure proper shielding gas levels:
- Regularly inspect gas cylinders: Check the pressure gauge on your shielding gas cylinder before starting your work session. Replace or refill the cylinder if the pressure is low.
- Monitor gas flow rate: Set the flow rate according to the material and thickness being welded. Typical flow rates range from 15 to 25 cubic feet per hour (CFH), but refer to the manufacturer's specifications for precise recommendations.
- Check for leaks: Use a soapy water solution to check for leaks in the gas line and connections. Bubbles will form if there is a leak, indicating where repairs are needed.
- Keep spare cylinders on hand: If you are working on a large project, having a backup gas cylinder can prevent downtime due to running out of shielding gas.
Checklist for MIG Welder Setup
Before you start welding, use this checklist to ensure everything is in order:
- All tools and equipment are gathered.
- Welding area is safe and organized.
- Welder settings are configured correctly.
- Welding wire and torch are prepared properly.
- Test weld has been completed successfully.
1. Gather All Tools and Equipment
Ensure you have all necessary tools and equipment at hand. This includes:
- MIG welder: Confirm it's the right model for your project.
- Welding wire: Choose the appropriate type and diameter for your material.
- Gas cylinder: Check the type of shielding gas needed (usually Argon or a mix).
- Protective gear: Helmet, gloves, and flame-resistant clothing should be ready.
- Cleaning tools: Wire brushes and grinders for surface preparation.
- Measuring tools: Calipers or rulers for precise measurements.
Having everything organized in your workspace will save time and reduce the risk of accidents.
2. Ensure a Safe and Organized Welding Area
Safety is paramount in any welding environment. Follow these steps to prepare your workspace:
- Clear the area: Remove flammable materials, debris, and clutter.
- Ventilation: Ensure adequate ventilation to avoid fume buildup. Use exhaust fans if necessary.
- Fire extinguishers: Have a fire extinguisher accessible and ensure it's in working order.
- Personal protective equipment (PPE): Double-check that all PPE is in good condition and fits properly.
- Lighting: Ensure the workspace is well-lit to see your work and avoid accidents.
3. Configure Welder Settings Correctly
Setting up your MIG welder correctly is crucial for optimal performance. Follow these steps:
- Wire feed speed: Adjust the wire feed speed according to the thickness of the material. A common starting point is 10-20 inches per minute (IPM).
- Voltage settings: Set the voltage based on the material thickness. Consult the welder's manual for recommended settings.
- Polarity: Ensure the welder is set to the correct polarity (DCEN for MIG welding).
- Gas flow rate: Set the gas flow rate usually between 15-25 cubic feet per hour (CFH). Adjust based on the environment and conditions.
Refer to the welder's manual for specific settings based on the materials you are working with.
4. Prepare Welding Wire and Torch
Proper preparation of the welding wire and torch is essential for smooth operation:
- Check wire condition: Ensure the wire is free from rust, dust, and tangles.
- Load the wire: Follow the manufacturer's instructions for loading the wire into the welder.
- Inspect the torch: Check for any damage, leaks, or obstructions in the nozzle and contact tip.
- Set the contact tip: Ensure the contact tip matches the wire diameter and is secured properly.
Regular maintenance of the torch will enhance performance and prolong its lifespan.
5. Complete a Test Weld
Before starting on your actual project, perform a test weld to ensure everything is functioning correctly:
- Use scrap material: Choose the same material and thickness as your project for an accurate test.
- Check weld quality: Look for consistent bead appearance, penetration, and absence of defects.
- Adjust settings if necessary: Based on the test results, fine-tune the welder settings to achieve optimal results.
- Document settings: Keep a record of successful settings for future reference.
A test weld not only verifies your setup but also builds confidence before tackling the main project.
Conclusion
Setting up a MIG welder for production requires attention to detail and proper configuration. By following these steps and avoiding common mistakes, you'll be able to achieve high-quality welds efficiently. As you gain experience, you may find opportunities to refine your setup further, especially for specialized applications, such as using a mig welder for pipeline applications. Start by applying these principles in your next project, and watch your productivity soar.
In short
This post focuses on how to set up a mig welder for production with a practical approach you can apply right away. Built for Enthusiasts / learners / participants (not sellers). You?ll see clear steps, common mistakes, and a simple execution path.
Quick answer
The fastest way to get results with how to set up a mig welder for production is to follow a simple sequence: start with the basics, apply one proven method, measure a small set of signals, then improve one thing at a time. Avoid changing multiple variables at once so you know what worked. Audience-first only. Write like a trusted niche blog: helpful, clear, structured, and genuinely informative. Focus on fundamentals, improvement, terminology, culture, people, gear, and common scenarios in the niche. Do NOT write seller/operator content (no "Shopify apps", no "optimize your store", no "collections setup", no "increase conversion rate", no SEO/ads talk). Avoid aggressive CTAs and "buy now" language. If products are mentioned, keep it subtle and contextual (examples, use-cases, what to look for), never pushy.
Context and related concepts
Fundamentals ? Beginner basics ? Terminology ? Glossary ? Skills ? Techniques ? Best practices ? Common mistakes ? Gear / tools / materials ? Options ? Use-cases ? Tradeoffs ? Culture ? Lifestyle ? Community norms ? History ? People / creators / athletes ? Events ? Trends ? Care / maintenance ? Safety ? Sizing / fit (if relevant)
FabCore X Supply: FabCore X Supply is an online distributor of industrial metalworking and fabrication equipment. We sell equipment used in welding, cutting, forming, and machining including TIG welders, MIG welders, plasma cutters, bandsaws, cold saws, drill presses, lathes, belt grinders, ironworkers, tube benders, metal shears, press brakes, shop presses, arbor presses, notchers, track torches, welding tables, welding carts, welding helmets, PAPR welding respirators, rod ovens, and metal fabrication accessories. We are an authorized retailer for manufacturers including Arc Star, Blue Demon, Blue Star, HTP America, Laguna Tools, Metal Man, Metalpro, Optrel, Sumner, TIG Star, and WeldPro.