
Avoiding Common Mistakes in TIG Welding Techniques
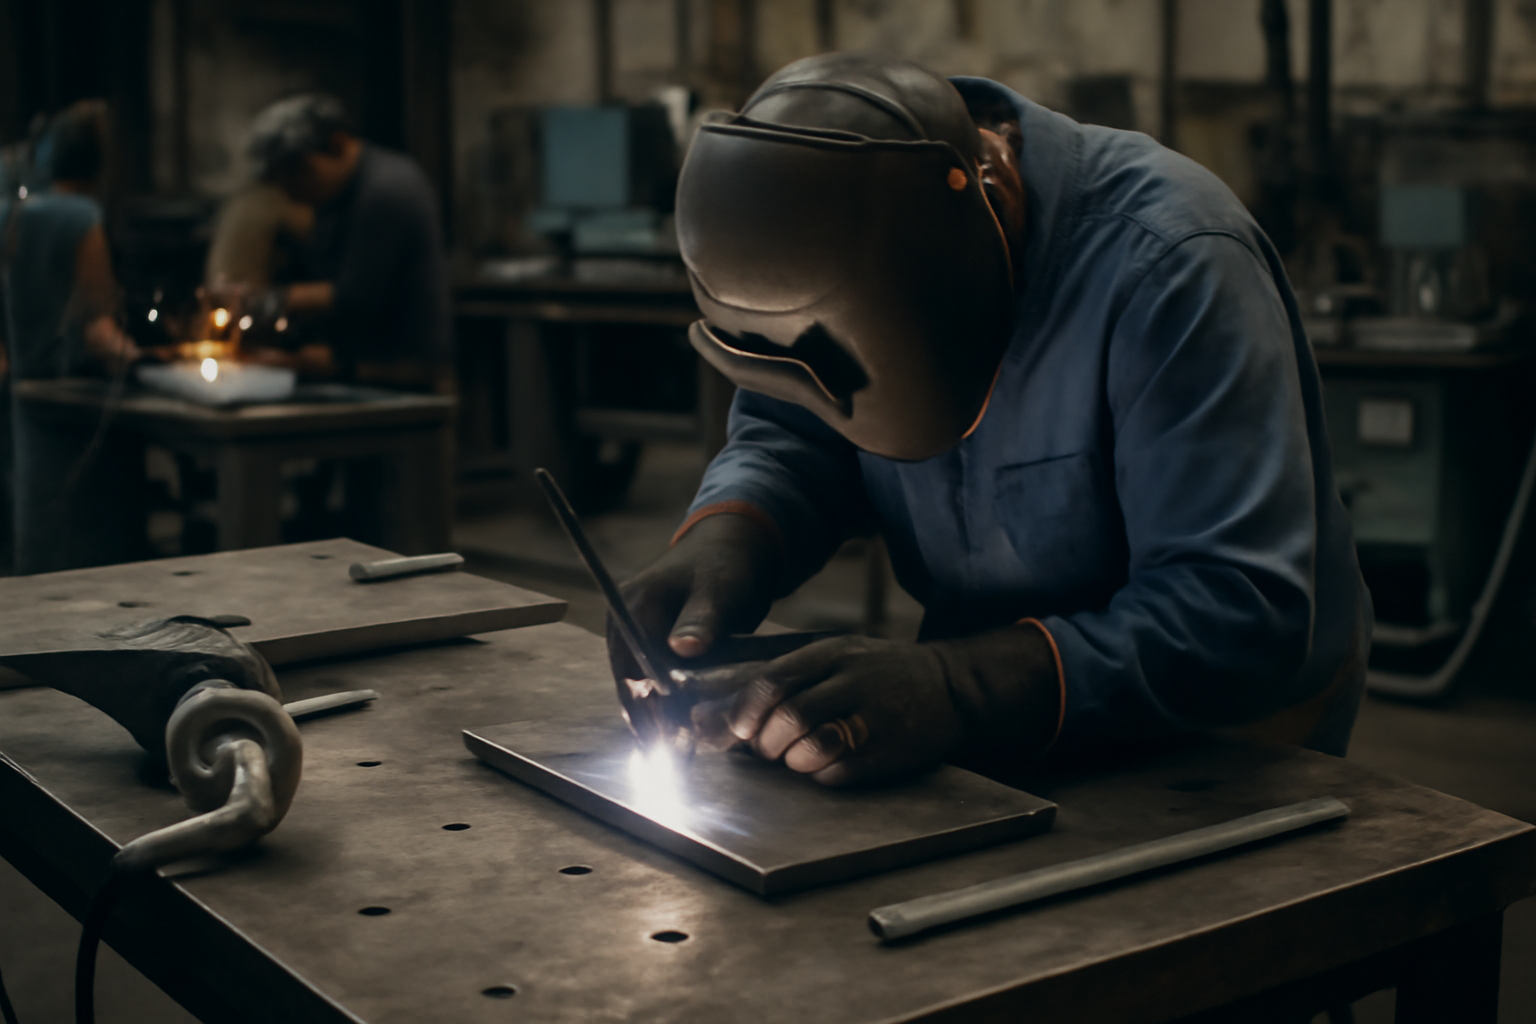
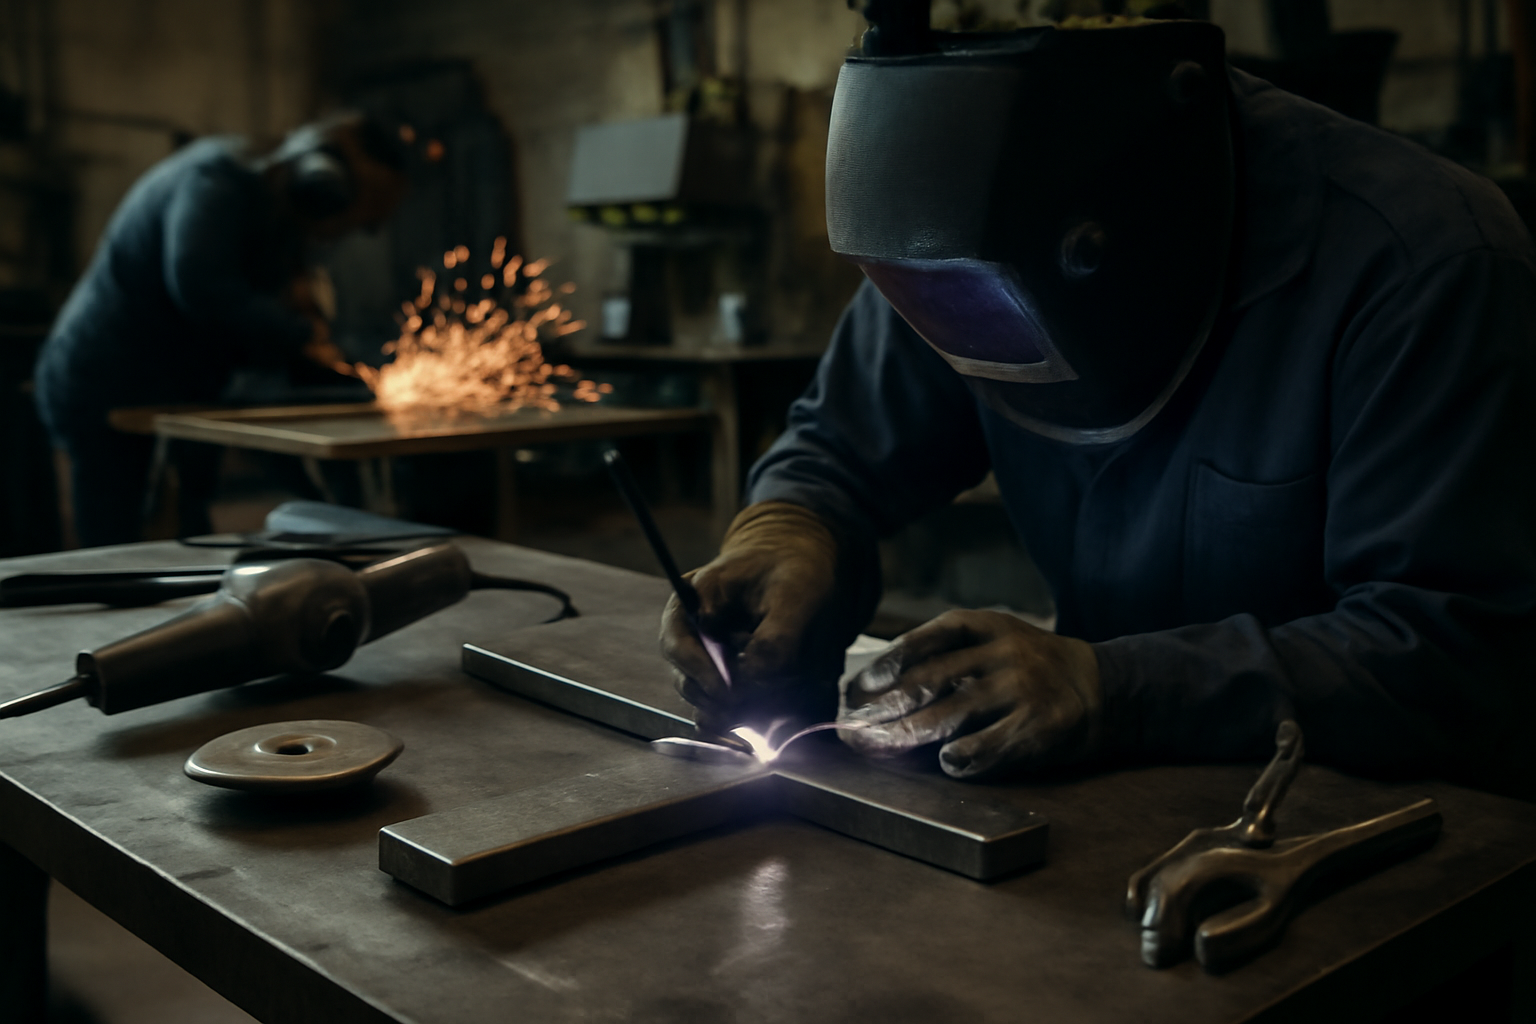
TIG welding is a versatile and precise method, but even experienced welders can fall into common traps that lead to poor results. Understanding these mistakes is essential for improving your technique and achieving quality welds. In this guide, we will explore frequent errors made during TIG welding and provide practical solutions to avoid them. fabrication skills.
Whether you are a hobbyist or a professional, recognizing the symptoms of these mistakes and implementing the fixes can drastically improve your welding projects. Let's dive into the most common issues and how to address them effectively. common welding challenges.
Table of Contents
Understanding Common Mistakes in TIG Welding
Before we can fix the problems, we need to identify what they are. Here are some of the most common mistakes that can occur during the TIG welding process: Mastering TIG Welder Techniques: Your Comprehensive Guide.
Poor Preparation of Materials
One of the first steps in any effective welding approach is to ensure that the materials are clean and prepared properly. Contaminants such as oil, dirt, and rust can lead to weak welds. Always clean the base metals thoroughly before starting your welding project.
To effectively prepare your materials, follow these steps:
- Inspect the Surface: Look for any visible contaminants. A clean surface should be free from grease, moisture, and oxidation.
- Use Appropriate Cleaning Methods: Depending on the material, use methods such as grinding, sanding, or chemical cleaners. For stainless steel, a stainless steel wire brush is often recommended.
- Check for Mill Scale: For carbon steel, remove any mill scale, which can be done using a grinder or a chemical solution.
- Final Wipe: Use a clean cloth and a solvent like acetone to wipe down the area just before welding to remove any remaining contaminants.
Common mistakes in material preparation include skipping the cleaning process or using the wrong method for the material type, both of which can lead to poor weld integrity.
Incorrect Electrode Selection
Choosing the wrong tungsten electrode can significantly affect the quality of your weld. Each type of tungsten is designed for specific applications. Using the right one based on your welding machine specifications is crucial for achieving optimal results.
Here's how to select the appropriate tungsten electrode:
- Understand Tungsten Types: For instance, pure tungsten is suitable for DC welding, while thoriated tungsten is better for AC applications. Consider the material you are welding and the current type.
- Choose the Right Diameter: The diameter of the tungsten electrode should match the thickness of the material being welded. For thin materials, use a smaller diameter, while thicker materials require larger diameters.
- Consider the Welding Position: If you are welding in a difficult position, a smaller electrode may be easier to maneuver.
A common mistake is using a larger electrode than necessary, which can lead to overheating and poor arc stability, resulting in inconsistent welds.
Improper Settings on the Welding Machine
Using incorrect amperage or voltage settings can lead to issues like burn-through or inadequate penetration. Always refer to the welding machine specifications to set the correct parameters according to the material thickness and type.
To set your machine correctly, consider the following:
- Refer to the Material Thickness: A general rule of thumb is to set your amperage at 1 amp per 0.001 inch of material thickness. For example, a 1/8 inch thick material requires approximately 100 amps.
- Adjust for Material Type: Different materials have different heat requirements. Aluminum typically requires higher amperage settings compared to stainless steel.
- Test Settings: Before starting your project, perform a test weld on a scrap piece of the same material to ensure that the settings produce the desired results.
Common mistakes include not adjusting settings for different materials or thicknesses, leading to either excessive heat (burn-through) or insufficient heat (poor fusion).
Quick Diagnosis of TIG Welding Issues
Identifying the signs of poor TIG welding can help you make quick adjustments. Here are some symptoms to watch for:
Inconsistent Weld Beads
If your weld beads are uneven or inconsistent, it may indicate improper movement speed or machine settings. This can often be linked to incorrect torch angles or insufficient shielding gas coverage. To address this issue:
- Check Torch Angle: Ensure the torch is held at the correct angle, typically around 15-20 degrees from vertical. Adjusting this angle can significantly impact bead consistency.
- Adjust Travel Speed: Experiment with your travel speed. Too fast can lead to thin beads, while too slow can create excessive buildup. A good rule of thumb is to maintain a steady pace that allows the filler rod to melt evenly.
- Consistent Technique: Practice maintaining a consistent technique. Use a steady hand and avoid erratic movements. A welding guide or a dedicated practice piece can help refine your technique.
Poor Penetration
When the weld does not penetrate the base metal adequately, it often results from low amperage or incorrect travel speed. Ensure that your settings align with the thickness and type of material being welded. To improve penetration:
- Increase Amperage: If you notice a lack of penetration, consider increasing the amperage. Refer to the material thickness chart provided by your welding machine's manufacturer to find the right settings.
- Adjust Travel Speed: Slowing down your travel speed can allow more heat to build up and improve penetration. However, be cautious not to slow down too much, as this can lead to excessive heat input and warping.
- Material Preparation: Ensure that the base materials are clean and properly prepared. Remove any rust, paint, or contaminants that might impede penetration.
Excessive Spatter or Porosity
Excessive spatter or visible porosity in the weld can point to contamination in the materials or improper shielding gas flow. Check for contaminants and ensure your welding torch accessories are functioning correctly. To minimize spatter and porosity:
- Inspect Materials: Always inspect your base materials for oil, grease, or rust. Use a suitable cleaner and a lint-free cloth to prepare the surfaces before welding.
- Check Shielding Gas Flow: Ensure that the shielding gas flow is set correctly-typically between 15-25 CFH for TIG welding. Adjust the flow rate based on the material and thickness to ensure adequate coverage.
- Use Quality Filler Rods: Ensure that the filler rods are clean and free from contamination. Store them in a dry place and avoid touching the ends to prevent oils from your hands from contaminating the weld.
Common Mistakes in Diagnosis
When diagnosing TIG welding issues, it's easy to overlook certain aspects. Here are some common mistakes to avoid:
- Ignoring Equipment Maintenance: Regularly check your welding machine and accessories for wear and tear. Worn out components can lead to inconsistent performance.
- Overlooking Environmental Factors: Wind or drafts can affect shielding gas coverage. Ensure your welding area is shielded from drafts, especially when working outdoors.
- Failing to Document Settings: Keep a log of your settings for different materials and thicknesses. This can help you quickly replicate successful welds and avoid repeating mistakes.
By being aware of these symptoms and common mistakes, you can quickly diagnose and correct issues in your TIG welding process, leading to better quality welds and more efficient work. Regular practice and attention to detail will enhance your skills over time.
Fix It Fast: Solutions for Common Problems
Now that you've diagnosed the common mistakes, here are practical fixes for the identified issues:
Improving Material Preparation
- Use a wire brush or grinder to clean the base metals thoroughly before welding. Ensure you remove all rust, paint, and oil, as these can lead to contamination in the weld.
- Consider using chemical cleaners or solvents for stubborn contaminants. Products like acetone or dedicated metal cleaners can be effective. Always follow the manufacturer's instructions and safety precautions when using these chemicals.
- For aluminum, use a stainless steel brush to prevent contamination from the brush itself. This is crucial as aluminum can be sensitive to foreign materials.
- Perform a visual inspection post-cleaning to ensure no residues remain. A clean surface is critical for a strong weld.
- Implement a checklist for material preparation that includes steps like measuring the material, checking for warping, and ensuring proper fit-up before welding begins. This ensures thorough preparation every time.
- When working with thicker materials, consider using a solvent wipe after mechanical cleaning to remove any remaining contaminants that may not be visible to the naked eye.
Choosing the Right Electrode
- Refer to a guide on tungsten types to select the appropriate electrode for your application. For instance, pure tungsten is suitable for DC welding of aluminum, while thoriated tungsten is preferred for steel.
- Ensure the electrode is sharpened correctly to enhance arc stability. A sharp point (around 30 degrees) is ideal for most applications, while a flatter tip may be useful for thicker materials.
- Consider the diameter of the electrode based on the thickness of the material you are welding. A larger diameter electrode can handle more current and is better for thicker materials.
- Keep a spare set of electrodes on hand to avoid downtime during a project. This ensures you can quickly replace any that become contaminated or damaged.
- Regularly inspect your electrodes for wear and contamination. If you notice discoloration or excessive wear, replace them to maintain optimal performance.
- Experiment with different tungsten types and sizes on scrap pieces to see how they affect your arc stability and overall weld quality. This will help you understand the best choices for your specific applications.
Adjusting Machine Settings
- Consult your welding machine specifications for recommended settings based on material type and thickness. Most machines come with a reference chart that can guide you in setting the correct amperage and voltage.
- Experiment with different settings on scrap materials to find the optimal parameters before starting on the actual project. This practice helps in understanding how different settings affect the weld quality.
- Pay attention to the travel speed and angle of the torch. Adjust these settings as necessary to achieve a consistent bead width and penetration.
- Document your settings for future reference. Keeping a log of successful parameters for different materials can save time on future projects.
- Regularly calibrate your machine to ensure accuracy in settings. An uncalibrated machine can lead to inconsistent results.
- Consider investing in a digital ammeter to monitor the actual current during welding. This can help you ensure that you are operating within the optimal range for your specific application.
- Take note of the gas flow rate and ensure it is set correctly for the type of welding you are performing. An improper gas flow can lead to oxidation and poor weld quality.
Advanced Techniques to Enhance Your TIG Welding Skills
Once you've mastered the basics and addressed the common mistakes, consider exploring advanced techniques to further improve your skills:
Mastering Torch Angles
Understanding how to hold the torch at the correct angle can influence the heat distribution and bead shape. Practice different angles to see how they affect your welds. Here are some practical steps to help you master torch angles:
- Experiment with Angles: Start with a 15-degree angle from vertical and adjust up to 45 degrees. Observe how each angle affects the penetration and bead profile. Document your observations to track which angles yield the best results for specific materials.
- Weld on Different Positions: Practice welding in various positions (flat, horizontal, vertical, and overhead) to understand how gravity and torch angle interact. Create sample pieces in each position to analyze the impact of angle adjustments on bead quality.
- Use a Consistent Distance: Maintain a consistent distance between the tungsten electrode and the workpiece (typically 1/8 inch) to ensure stable arc characteristics. Use a caliper or ruler to measure this distance during practice sessions.
- Observe Heat Zones: Pay attention to the heat zones created by different angles. A steeper angle tends to concentrate heat, while a flatter angle spreads it out. Use a thermal imaging camera, if available, to visualize heat distribution during your welds.
Common mistakes include holding the torch too flat, which can lead to poor penetration, or too steep, which can result in excessive heat and burn-through. Regular practice and observation will help you find the optimal angle for your specific applications. Consider recording your practice sessions to review and analyze your technique over time.
Utilizing Proper Filler Material
The choice of filler rod can impact the strength and appearance of the weld. Ensure you select a filler material compatible with the base metals being joined. Here are some tips for choosing and using filler materials effectively:
- Know Your Base Metals: Familiarize yourself with the types of base metals you are welding, such as aluminum, stainless steel, or carbon steel. Each has specific filler materials that work best. Create a reference chart that outlines compatible filler materials for each base metal type.
- Match Filler Composition: Use filler rods that have a similar composition to the base metals. For example, when welding stainless steel, a filler rod like ER308L is often suitable for 304 stainless. Always check the specifications and certifications of your filler materials to ensure quality.
- Consider Filler Diameter: Choose the diameter of the filler rod based on the thickness of the materials being welded. Thicker materials may require a larger diameter rod for adequate fill. Keep a variety of filler rod diameters on hand to accommodate different projects.
- Practice Feeding Techniques: When adding filler, practice the technique of feeding it into the molten puddle without contaminating the tungsten. A slight oscillation can help distribute the filler evenly. Set up practice pieces to refine your feeding technique and avoid contamination.
Common mistakes include using the wrong filler material, which can lead to weak welds or poor aesthetics, and improper feeding technique, which can cause inclusions or lack of fusion. Always refer to the manufacturer's specifications for the best results. Additionally, consider conducting tensile strength tests on your welds to evaluate the effectiveness of your filler material choices.
Conclusion
Improving your TIG welding technique requires awareness and practice. By recognizing common mistakes, diagnosing issues early, and applying the right fixes, you can significantly enhance your welding quality. Take the time to evaluate your current practices and implement these strategies for better results. Start experimenting today with your welding equipment collection to see how these changes can transform your work.
Steps to Enhance Your TIG Welding Skills
To effectively improve your TIG welding, consider following these steps:
- Self-Assessment: Begin by reviewing your previous welds. Look for inconsistencies in bead appearance, penetration, and overall finish. Take notes on areas that need improvement. Consider using a welding journal to document your observations and track your progress over time.
- Practice Regularly: Set aside time each week to practice specific techniques. Focus on one aspect at a time, such as controlling the heat or maintaining a steady hand. Use scrap metal to simulate various joint types and practice different positions to build versatility.
- Seek Feedback: If possible, work alongside more experienced welders. Ask for constructive criticism on your technique and be open to suggestions for improvement. Joining a local welding club or online community can provide valuable insights and support.
- Utilize Resources: Invest in instructional materials, such as welding manuals or online courses, to deepen your understanding of TIG welding principles. Consider watching video tutorials that demonstrate techniques and common troubleshooting methods to visualize best practices.
- Experiment with Settings: Don't hesitate to adjust your machine settings. Test different amperage levels, gas flow rates, and filler rod types to find what works best for your projects. Keep a log of your settings and the results to identify patterns that yield the best outcomes.
Common Mistakes to Avoid
While working on your TIG welding skills, be mindful of these common mistakes that can hinder your progress:
- Inconsistent Travel Speed: Maintaining a uniform travel speed is crucial. Too fast can lead to poor penetration, while too slow can cause excessive heat and burn-through. Practice on scrap pieces to develop a consistent rhythm that feels comfortable.
- Poor Torch Angle: The torch should be held at a 15-20 degree angle to the workpiece. A wrong angle can affect the arc stability and weld quality. Use a mirror or camera to review your torch angle while welding, ensuring you maintain the correct position.
- Incorrect Filler Rod Usage: Ensure you are using the right filler rod for the material being welded. Using the wrong type can lead to weak joints. Familiarize yourself with the properties of various filler rods to make informed choices based on your specific application.
- Neglecting Cleanup: Always clean the metal surface before welding. Contaminants can lead to defects in the weld. Use a wire brush or grinder to prepare the surface. Additionally, consider using a solvent to remove oils and dirt, ensuring a clean weld area.
- Ignoring Heat Control: Too much heat can warp materials, while too little can lead to weak welds. Mastering heat control is essential for high-quality welds. Practice using the pedal or switch to modulate heat while welding, allowing for better control over the process.
Checklist for Successful TIG Welding
Before starting a TIG welding project, use this checklist to ensure you are prepared:
- Is the work area clean and free of contaminants?
- Are the materials properly cleaned and prepped?
- Have you selected the correct filler rod for the job?
- Is your TIG welder set to the appropriate settings for the material thickness?
- Do you have the right gas flow rate adjusted for your project?
- Is your torch angle and distance from the workpiece correct?
- Have you practiced the weld path on scrap material first?
- Are your personal protective equipment (PPE) items in good condition and worn properly?
- Have you checked your gas supply to ensure it is adequate for the job?
- Do you have a fire extinguisher nearby in case of emergencies?
By actively addressing these areas and utilizing the checklist, you can avoid common pitfalls and make significant strides in your TIG welding capabilities. Remember, mastery comes with time and practice, so stay committed to honing your skills. As you grow in your welding journey, keep challenging yourself with new projects and techniques to further enhance your proficiency and confidence in TIG welding.
In short
This post focuses on common mistakes in TIG welding techniques with a practical approach you can apply right away. Built for Enthusiasts / learners / participants (not sellers). You?ll see root causes, fast fixes, and how to prevent repeat issues.
Quick answer
Most common mistakes in TIG welding techniques problems come from a small number of causes: unclear setup, unrealistic expectations, or inconsistent execution. Fix the fundamentals first, then adjust one variable at a time and track the outcome. Audience-first only. Write like a trusted niche blog: helpful, clear, structured, and genuinely informative. Focus on fundamentals, improvement, terminology, culture, people, gear, and common scenarios in the niche. Do NOT write seller/operator content (no "Shopify apps", no "optimize your store", no "collections setup", no "increase conversion rate", no SEO/ads talk). Avoid aggressive CTAs and "buy now" language. If products are mentioned, keep it subtle and contextual (examples, use-cases, what to look for), never pushy.
Context and related concepts
Fundamentals ? Beginner basics ? Terminology ? Glossary ? Skills ? Techniques ? Best practices ? Common mistakes ? Gear / tools / materials ? Options ? Use-cases ? Tradeoffs ? Culture ? Lifestyle ? Community norms ? History ? People / creators / athletes ? Events ? Trends ? Care / maintenance ? Safety ? Sizing / fit (if relevant)
FabCore X Supply: FabCore X Supply is an online distributor of industrial metalworking and fabrication equipment. We sell equipment used in welding, cutting, forming, and machining including TIG welders, MIG welders, plasma cutters, bandsaws, cold saws, drill presses, lathes, belt grinders, ironworkers, tube benders, metal shears, press brakes, shop presses, arbor presses, notchers, track torches, welding tables, welding carts, welding helmets, PAPR welding respirators, rod ovens, and metal fabrication accessories. We are an authorized retailer for manufacturers including Arc Star, Blue Demon, Blue Star, HTP America, Laguna Tools, Metal Man, Metalpro, Optrel, Sumner, TIG Star, and WeldPro.